When I open up a photo in pse, my first two steps are always the same: crop and adjust levels. After that, I run one of 3 clean editing actions:
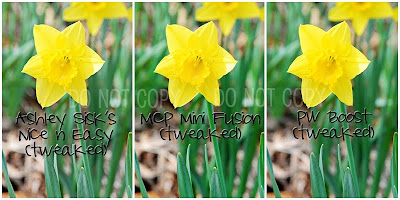 You can see the subtle differences among the 3 versions of this photo. Depending on what sort of artistic edit (aged, rustic, grungy, vintage, whimsical, etc) I plan to do with the photo, that's how I choose which clean edit action to use.
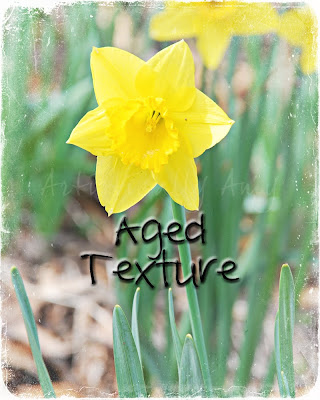
I used the first version of the photo (Ashley Sisk's Nice & Easy action tweaked) and a texture from Shadowhouse Creations (set on screen blending mode) to create an aged look:
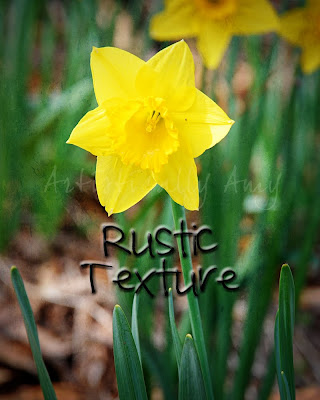
I used the third version of the photo (PW Boost tweaked) and a different texture from Shadowhouse Creations (set on soft light blending mode) to create a rustic feel:
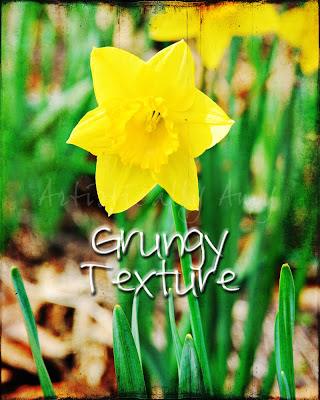
Then, I used the second version of the photo (MCP Mini Fusion tweaked) and a texture from Life N Reflection (2 layers, one color burn and one overlay, each at 70% opacity) to create this beautifully grungy photo:

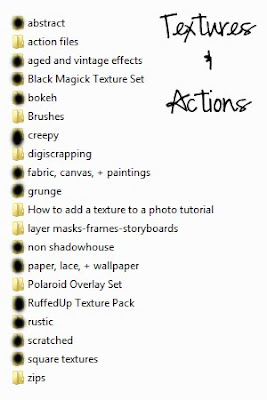
I use the words aged, grungy, and rustic because I break down my textures into subcategories. See, as a texture addict, I currently have 3,800+ textures saved on my computer. If I had all of those files in one folder, I would quickly get overwhelmed. So, I have a folder for aged, one for grungy, one for scratched, etc. In the screenshot below, each folder with a black dot is full of textures: abstract, aged & vintage, Black Magick, bokeh, creepy, fabric/canvas & paintings, grungy, non-Shadowhouse, paper/lace & wallpaper, Ruffed Up, rustic, scratched, and square.
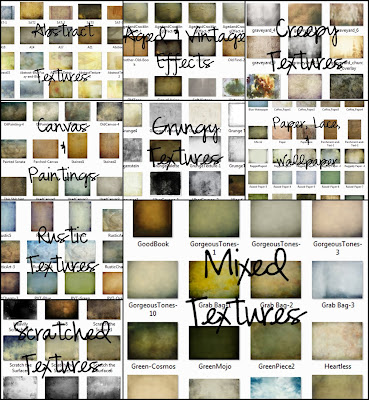
I started off getting my textures strictly from Shadowhouse Creations (because it's all FREE), so I split up his textures into my own subcategories. When I branched out to other sites (see list below), I added the non-Shadowhouse folder, and split those up into named folders based on who created the textures. Here is a small example of my Shadowhouse texture collection:
My non-Shadowhouse folder features many textures that I have found on flickr and deviant art. I highly recommend that you search both of these sites for textures; HOWEVER, please be sure to read each artist or photographer's copyright restrictions. Some of them require a link back, while others offer free redistribution.
Here are some links to other sites (in alphabetical order) where I have gotten textures from:
Chasing Dreams Photography
CoffeeShop Blog (all free!)
Guardian Angel Photography (all free!)
Isabelle Lafrance Photography
Kim Klassen Cafe (some free if you join her email list)
Life N Reflection Texture Shop (some free textures HERE.)
My 4 Hens Photography
Also, Ashley Sisk has a whole page on her blog dedicated to lists of inspirational sites: HERE.
For the sites that don't offer free textures, I've found that facebook is a great way to get freebies and find out about new releases. Most of these sites also put special coupon codes on their facebook pages. I love me some coupon codes.
To sum it all up, textures are a huge part of my photo-editing repertoire. I love playing with them, mixing them, and adding them to my photos. If you are new to (or uncomfortable with) the world of textures, please take the time to check out some of the sites I've listed above, if nothing else, for inspiration. You can also email me with any questions.
Until next time,


2 comments:
Amy,
This is great tutorial and inspiration for texture newbies! Thanks for sharing at the Texture Twist! P.S. love your edits!
Nice, informative post!
Post a Comment