Welcome to Color Splash Sunday!
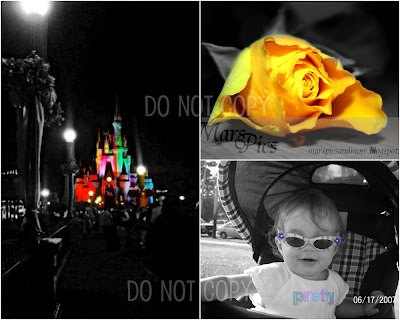
Color splash photos are those that have been converted to black and white, but one object has been left colored. Sometimes, it's easy to just isolate your colored object and you're done. Other times, more editing is required, such as adjusting color levels/light/shadow/etc.
This is an open themed link-up, so there won't be any specific themes for your photos. Any photo is fine, as long it has selective color and you haven't posted it before. You can read more about CSS guidelines by clicking here.My 3 favorites from last week:
 (These photos are all copyright of their original photographers.)
And the winner is...
Rebecca over at From Mommy to Calm Insanity! This was an easy pick this week. I am utterly in love with Disney and all things Princess-y, especially Cinderella's castle. (
CLICK HERE to see it full size.)
Congrats, Rebecca!
Feel free to snag this button
and display it on your blog!
A few people have asked me how I do my color splash photos, so I decided to post a selective coloring tutorial. I had written one up last year, but I decided to redo it with some screenshots.
This tutorial uses Adobe Photoshop Elements 8. I've used pse 5, and from what I remember of it, it's pretty much the same thing. The full version of Photoshop would also be mostly the same. The names of certain tools vary a bit.
Step 1: Open your photo. Adjust levels, saturation, contrast as you see fit. I'm not going to tell you how to do this because I believe that these must all be adjusted to taste. One photo might need to be brightened, while another might be overexposured. It depends on your photo that you are processing and your own style of editing.
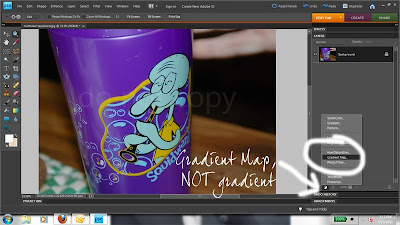
Step 2: Add a gradient map using the adjustment button (it looks like a black and white circle). When you click on the adjustment button, a little menu will pop up. This menu is what I use to tweak my levels, saturation, and brightness/contrast. Make sure you click Gradient Map, NOT Gradient, as shown in the screenshot below.
 Step 3: Adjust the gradient map to be 'black to white'.
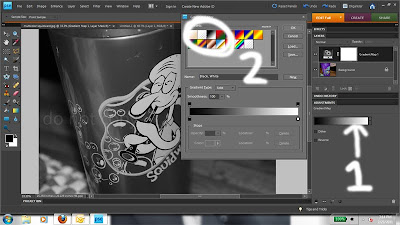
 When you click on Gradient Map, the gradient will automatically be foreground color to background color. If you were working with any other colors, then your photo will look funky. Click on the gradient (1 on the screenshot below) and then click on the 'black to white' box (2 on the screenshot below). Make sure your Gradient Type is Solid and your Smoothness is 100%.
 Step 4: Using a soft black brush set at 100% opacity, brush away the part of the photo that you want to keep colored.
 When you added the gradient map, you added a layer mask to the photo. Make sure that you brush over the white layer mask, not over the photo itself. You can make the size of the brush smaller or larger depending on the size of the piece that you are coloring.
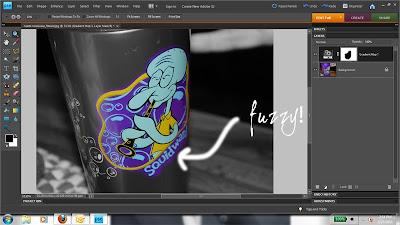
Now, if you look at the screenshot above, the edges of my colored spot are fuzzy from the soft brush. When you end up with fuzzy edges like these, you'll want to switch your brush to a hard black one, zoom in closer, switch your brush color to white, and carefully clean up the edges. This is why a layer mask is always preferred over erasing a layer; you can brush the effect of the layer on or off and easily fix mistakes.
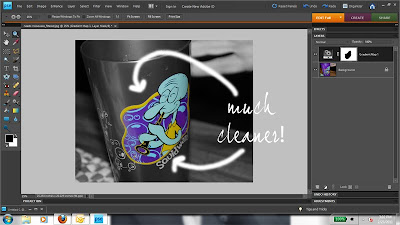
At this point, your selective coloring process is pretty much done. I usually right-click on the layer mask, select "Merge Visible," add a quick vignette around the edges, add my watermark, resize for web, and save. Most of the time, I save my photo hi-res without a watermark first, followed by resizing for web and saving it again. Either way, you'll want to save your photo as a jpeg (or png), but never as a gif.
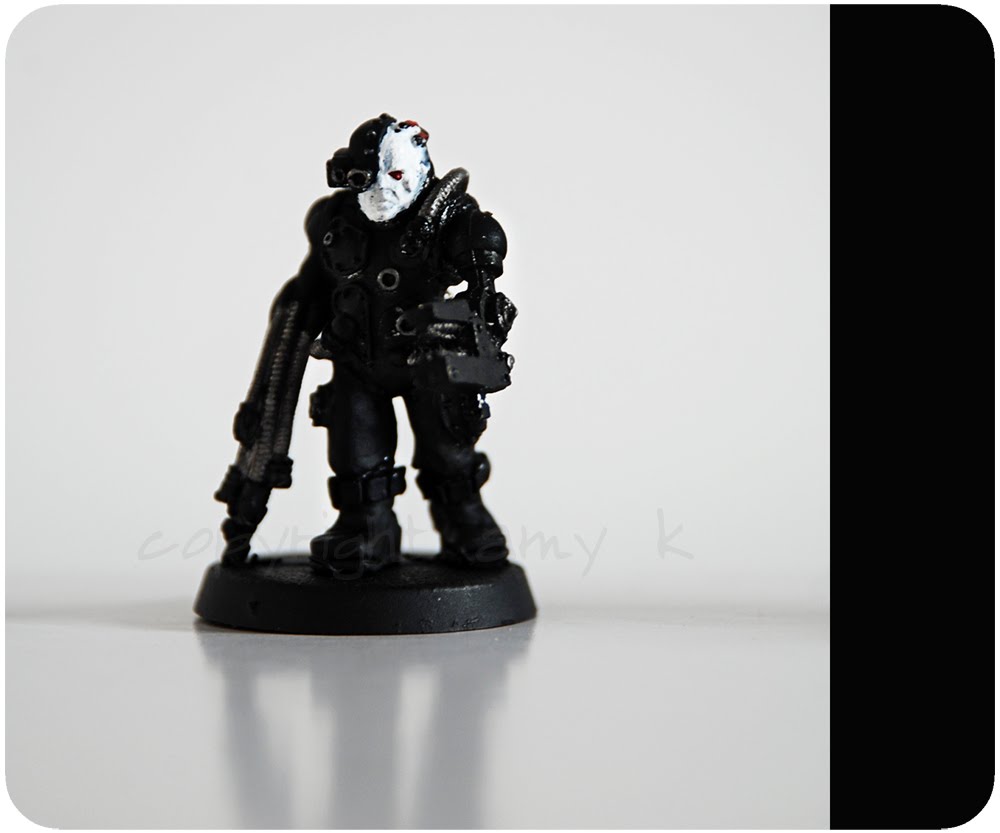
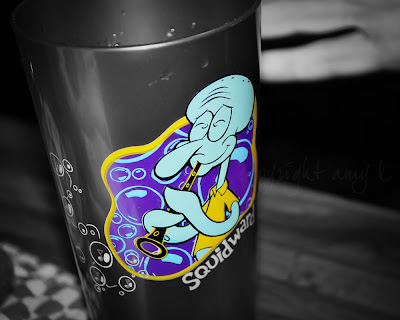
And here is my final product!
Your turn to link up! Please remember to use the permalink to your blog post with a selective coloring photo, NOT the main link to your blog. Thanks!